Localization
Localizing is crucial to ensure that Beaver is accessible to a wider audience. Instead of depending solely on an internal translation team, we invite your participation, enabling anyone to submit translations effortlessly, even without technical expertise. To facilitate the onboarding of new translators, we've crafted this translation guide.
The legacy guide for localizing Beaver is still available; however, we highly encourage you to follow this new guide for compatibility's sake and to guarantee a smoother integration.
Using Traduora
Our apps are translated through Traduora: an Open Translation Management Platform. To submit a translation, you'll need to email us at danielerolli@proton.me, specifying the project/s you want to be added to. No other details are needed, although feel free to include them if necessary. You'll then receive an invitation link within the next 24 hours from the time it is received. Once added, you'll need to sign up and will have editor access to the project/s
Add a new term
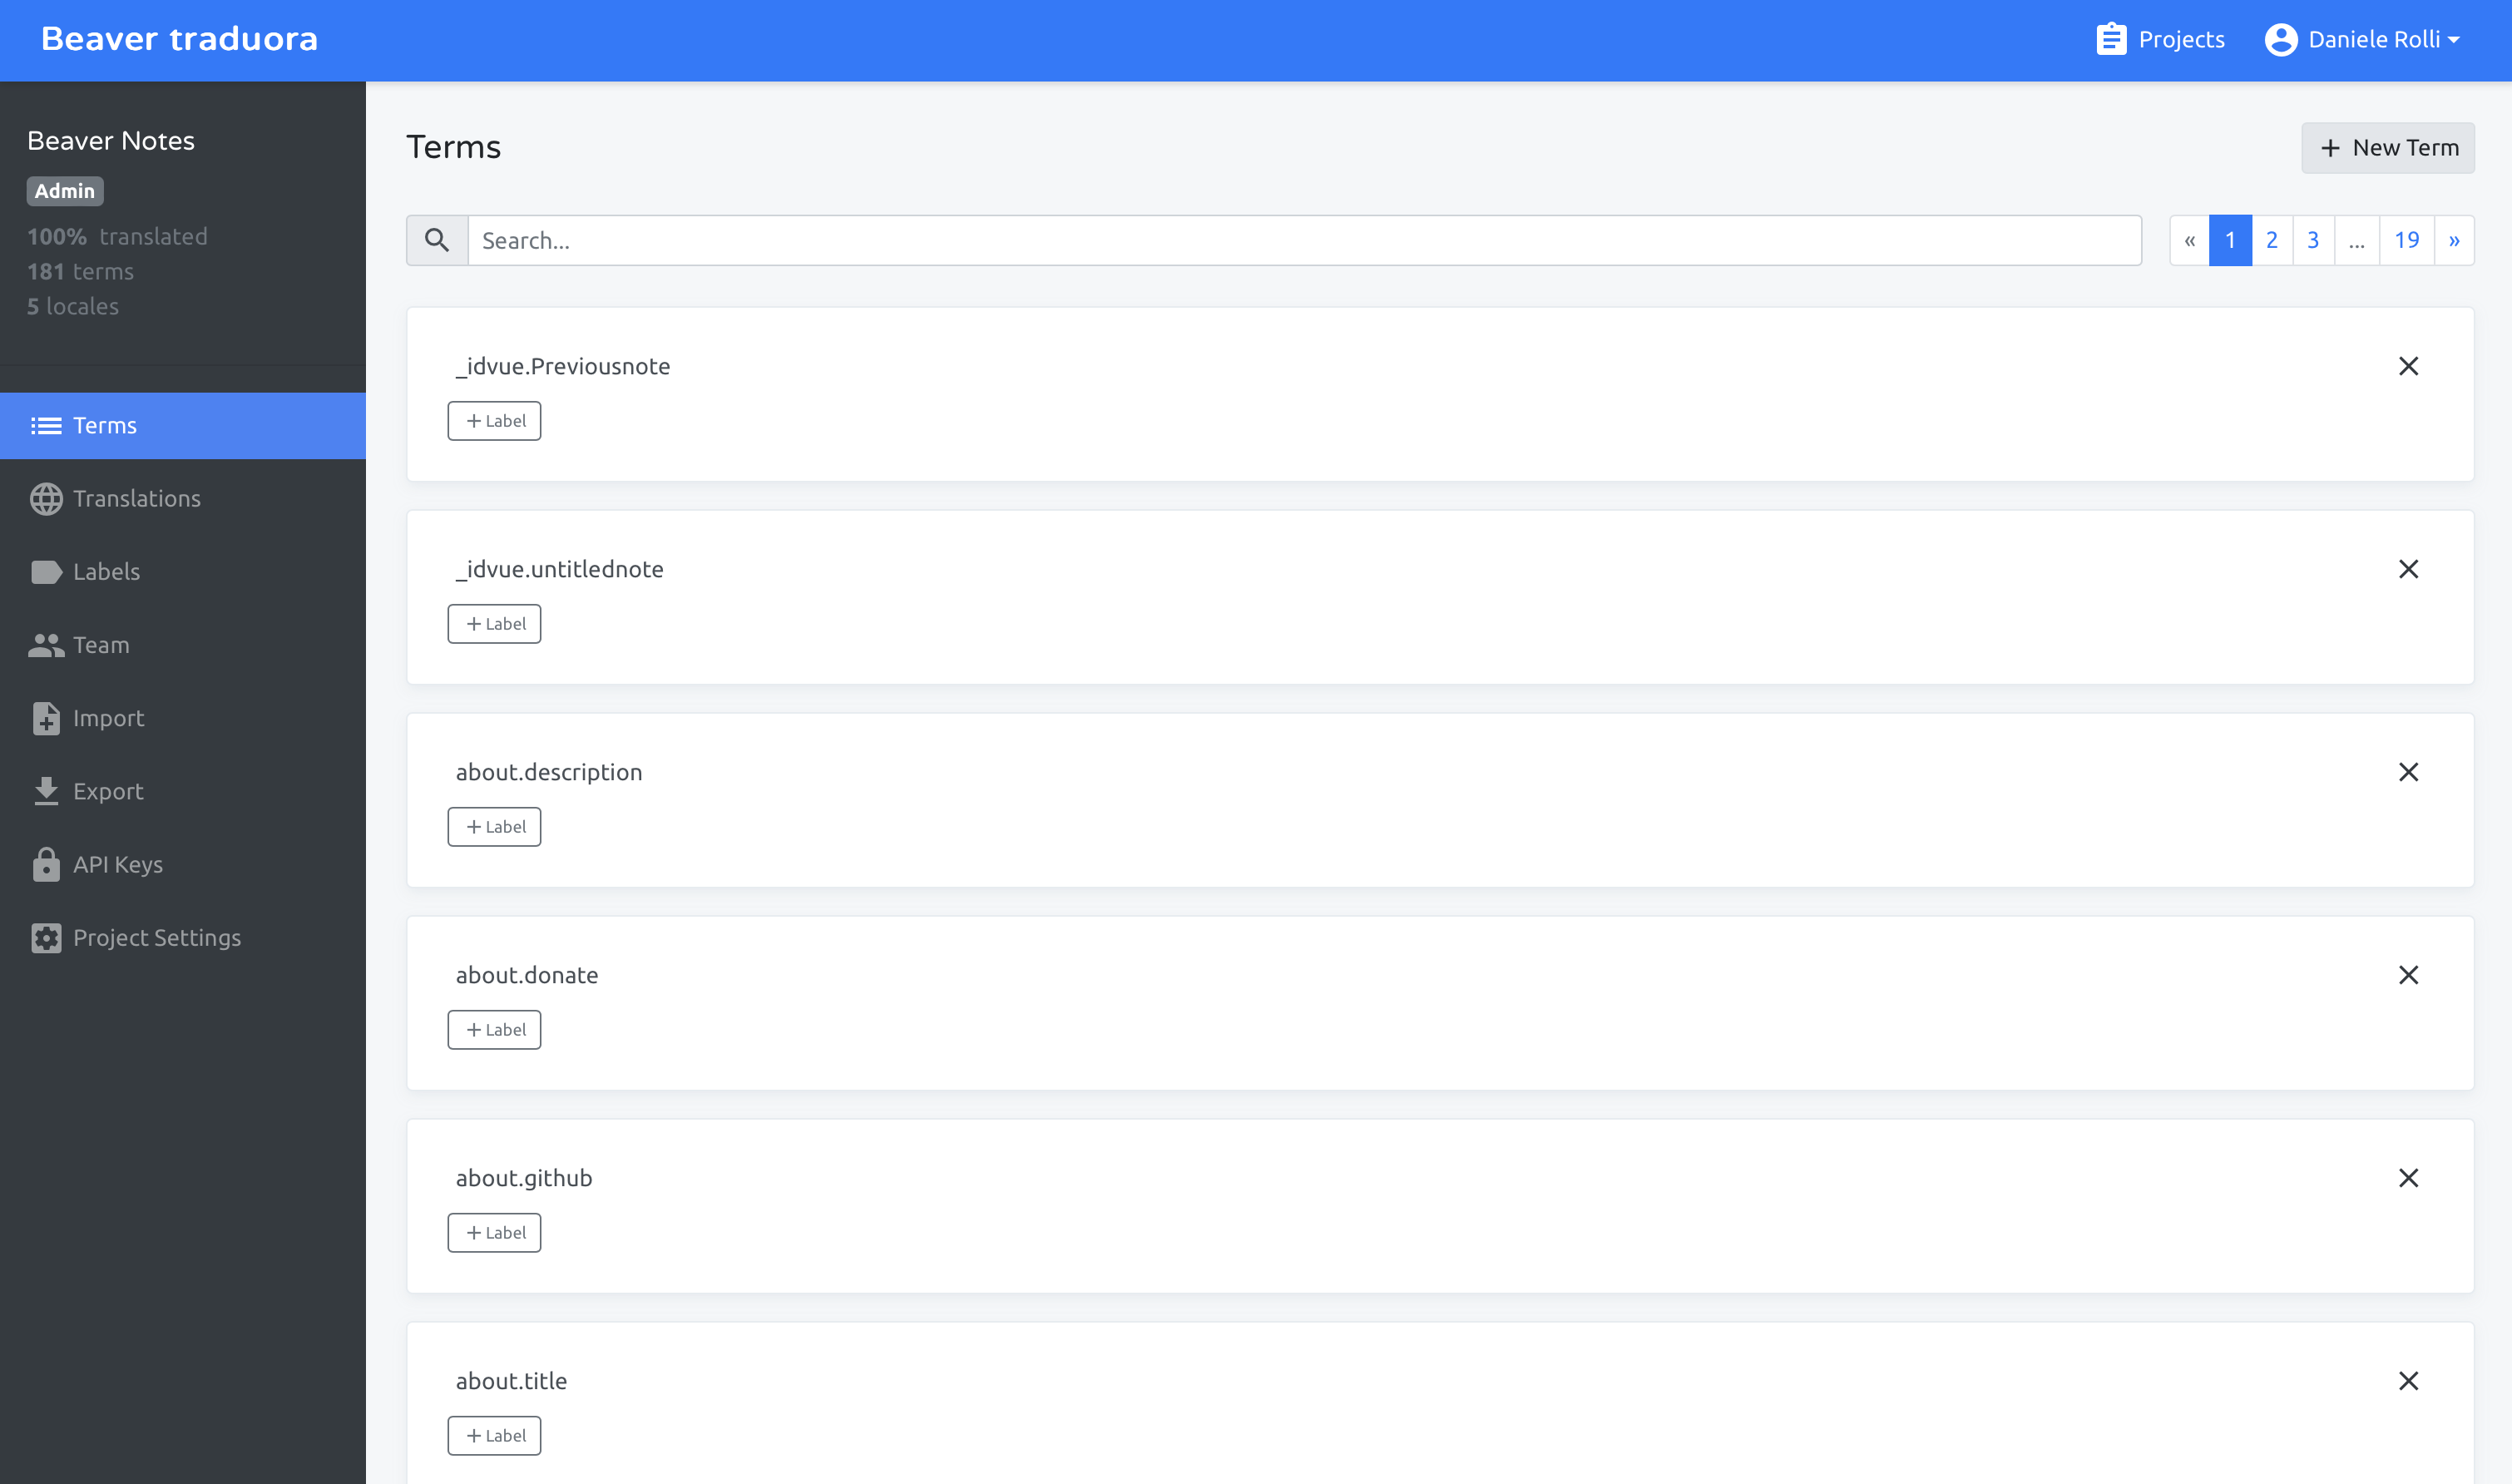
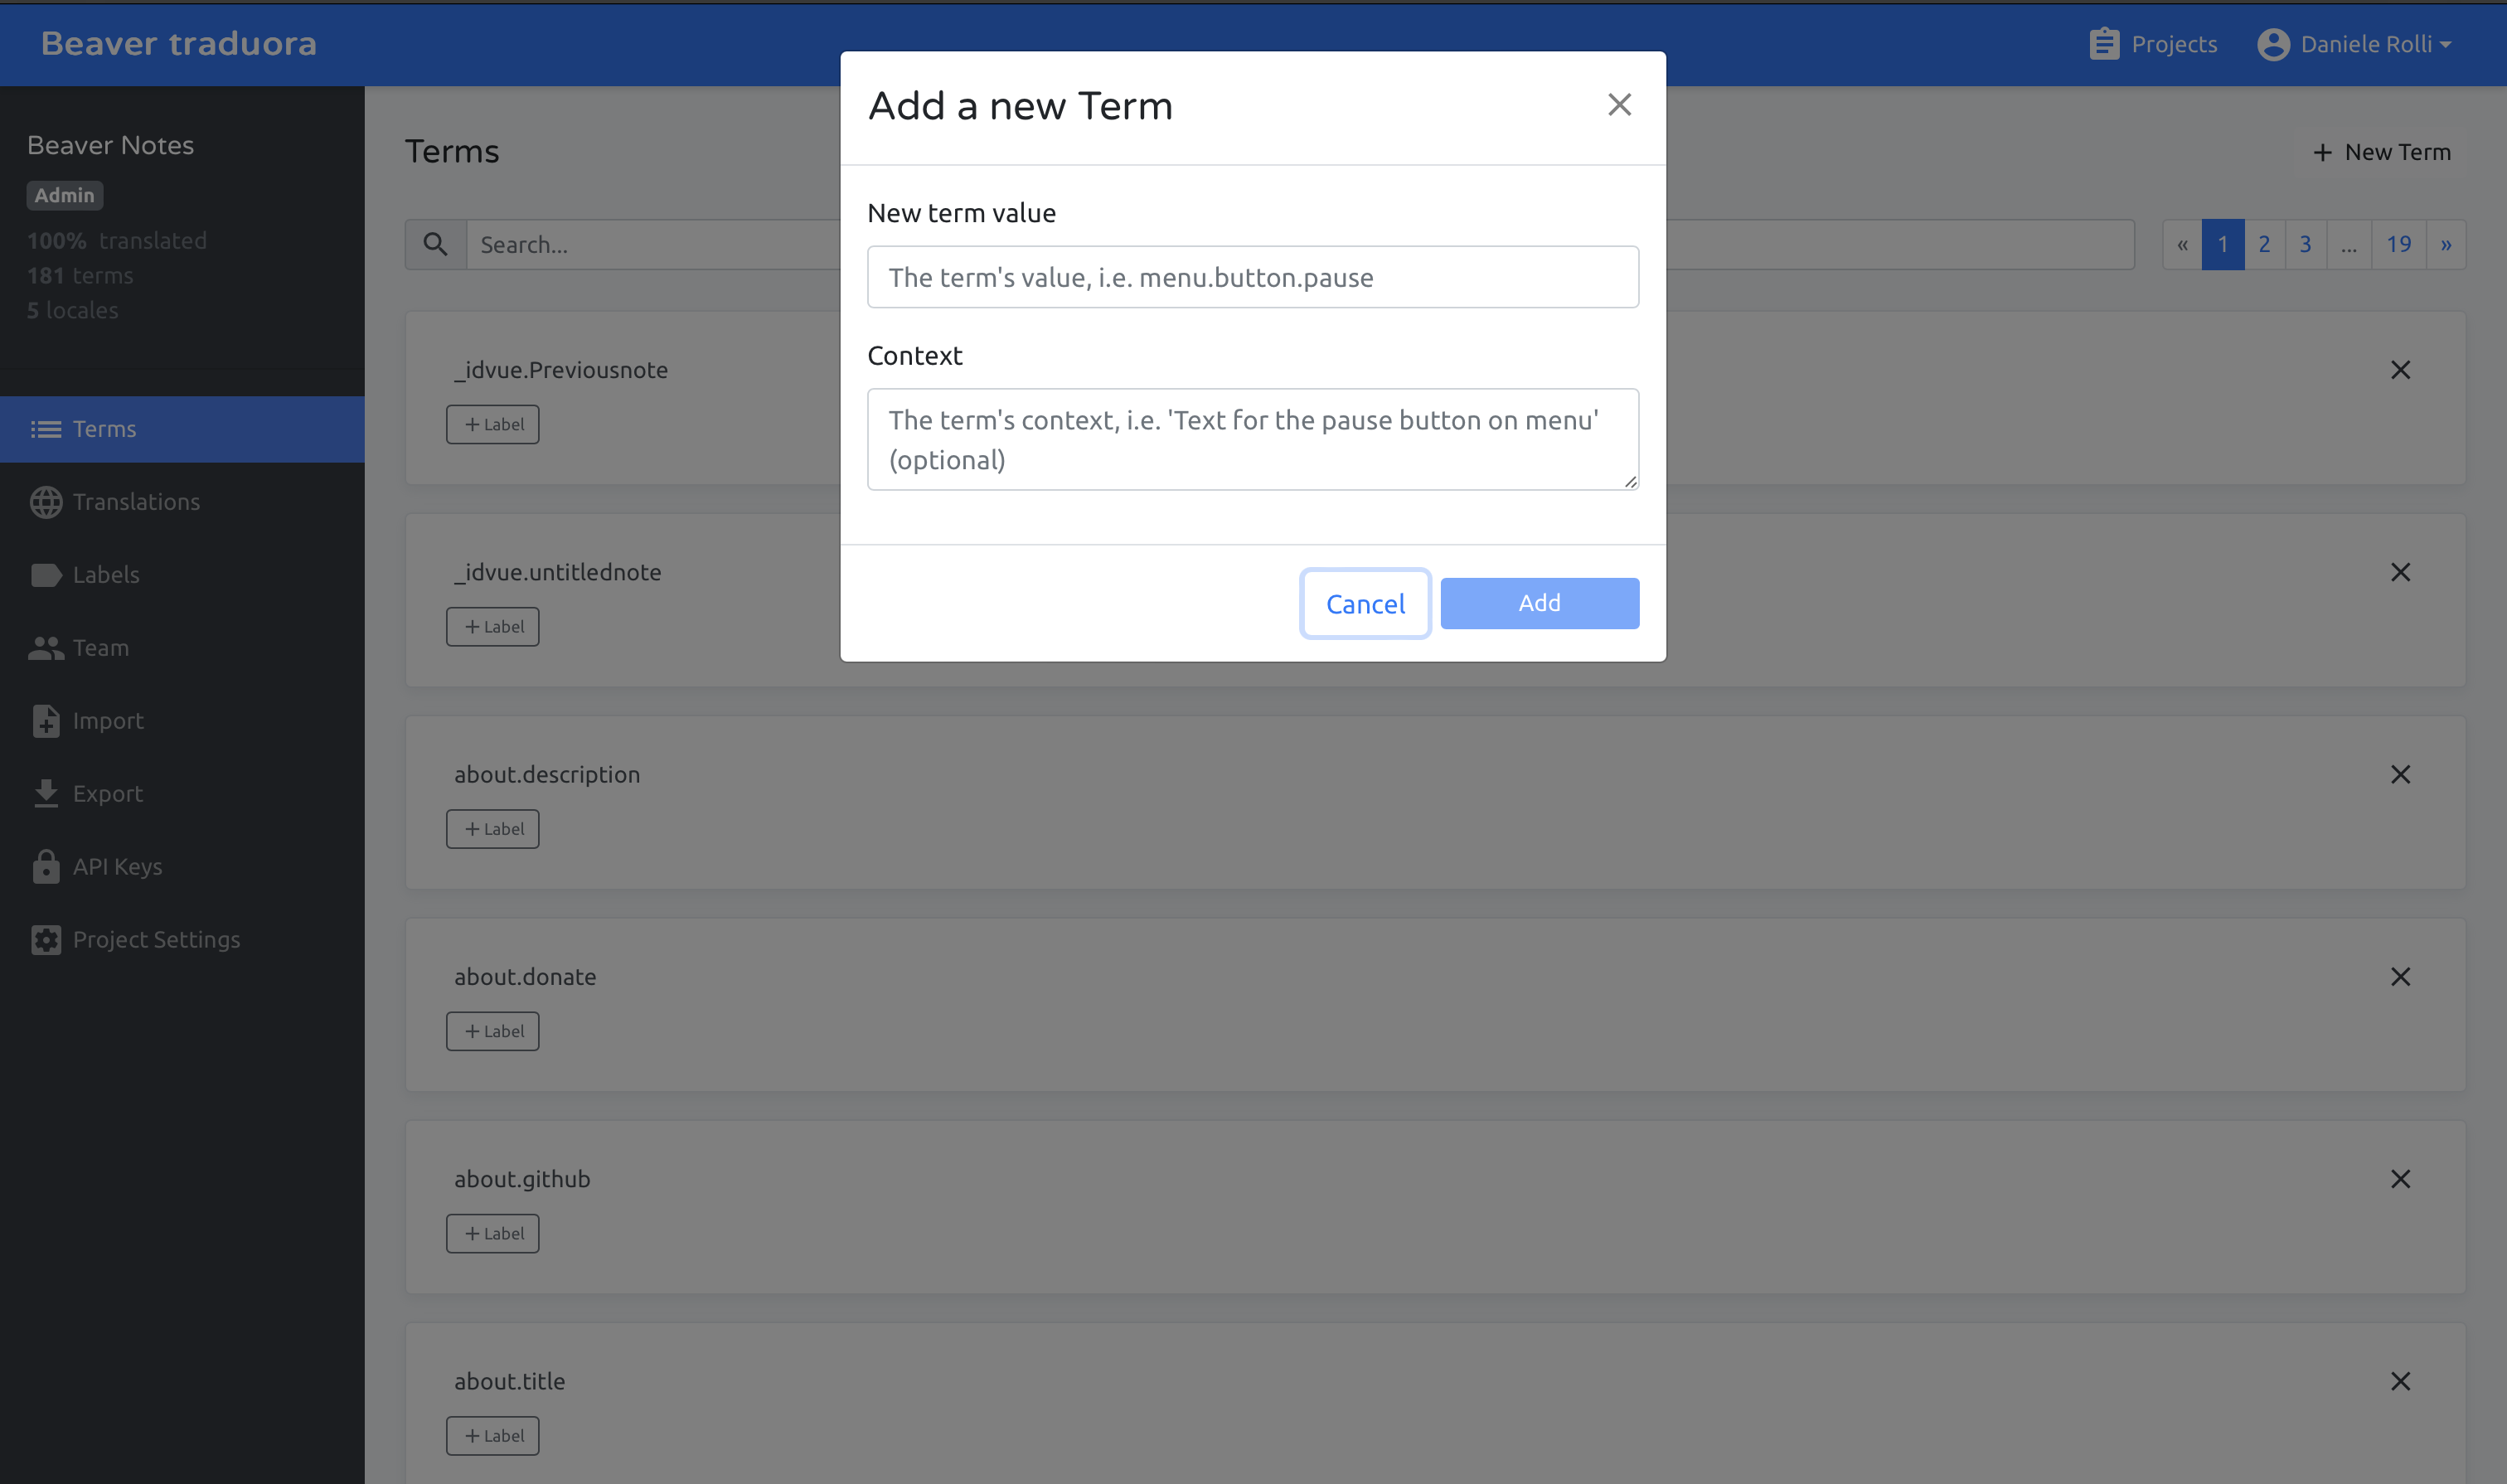
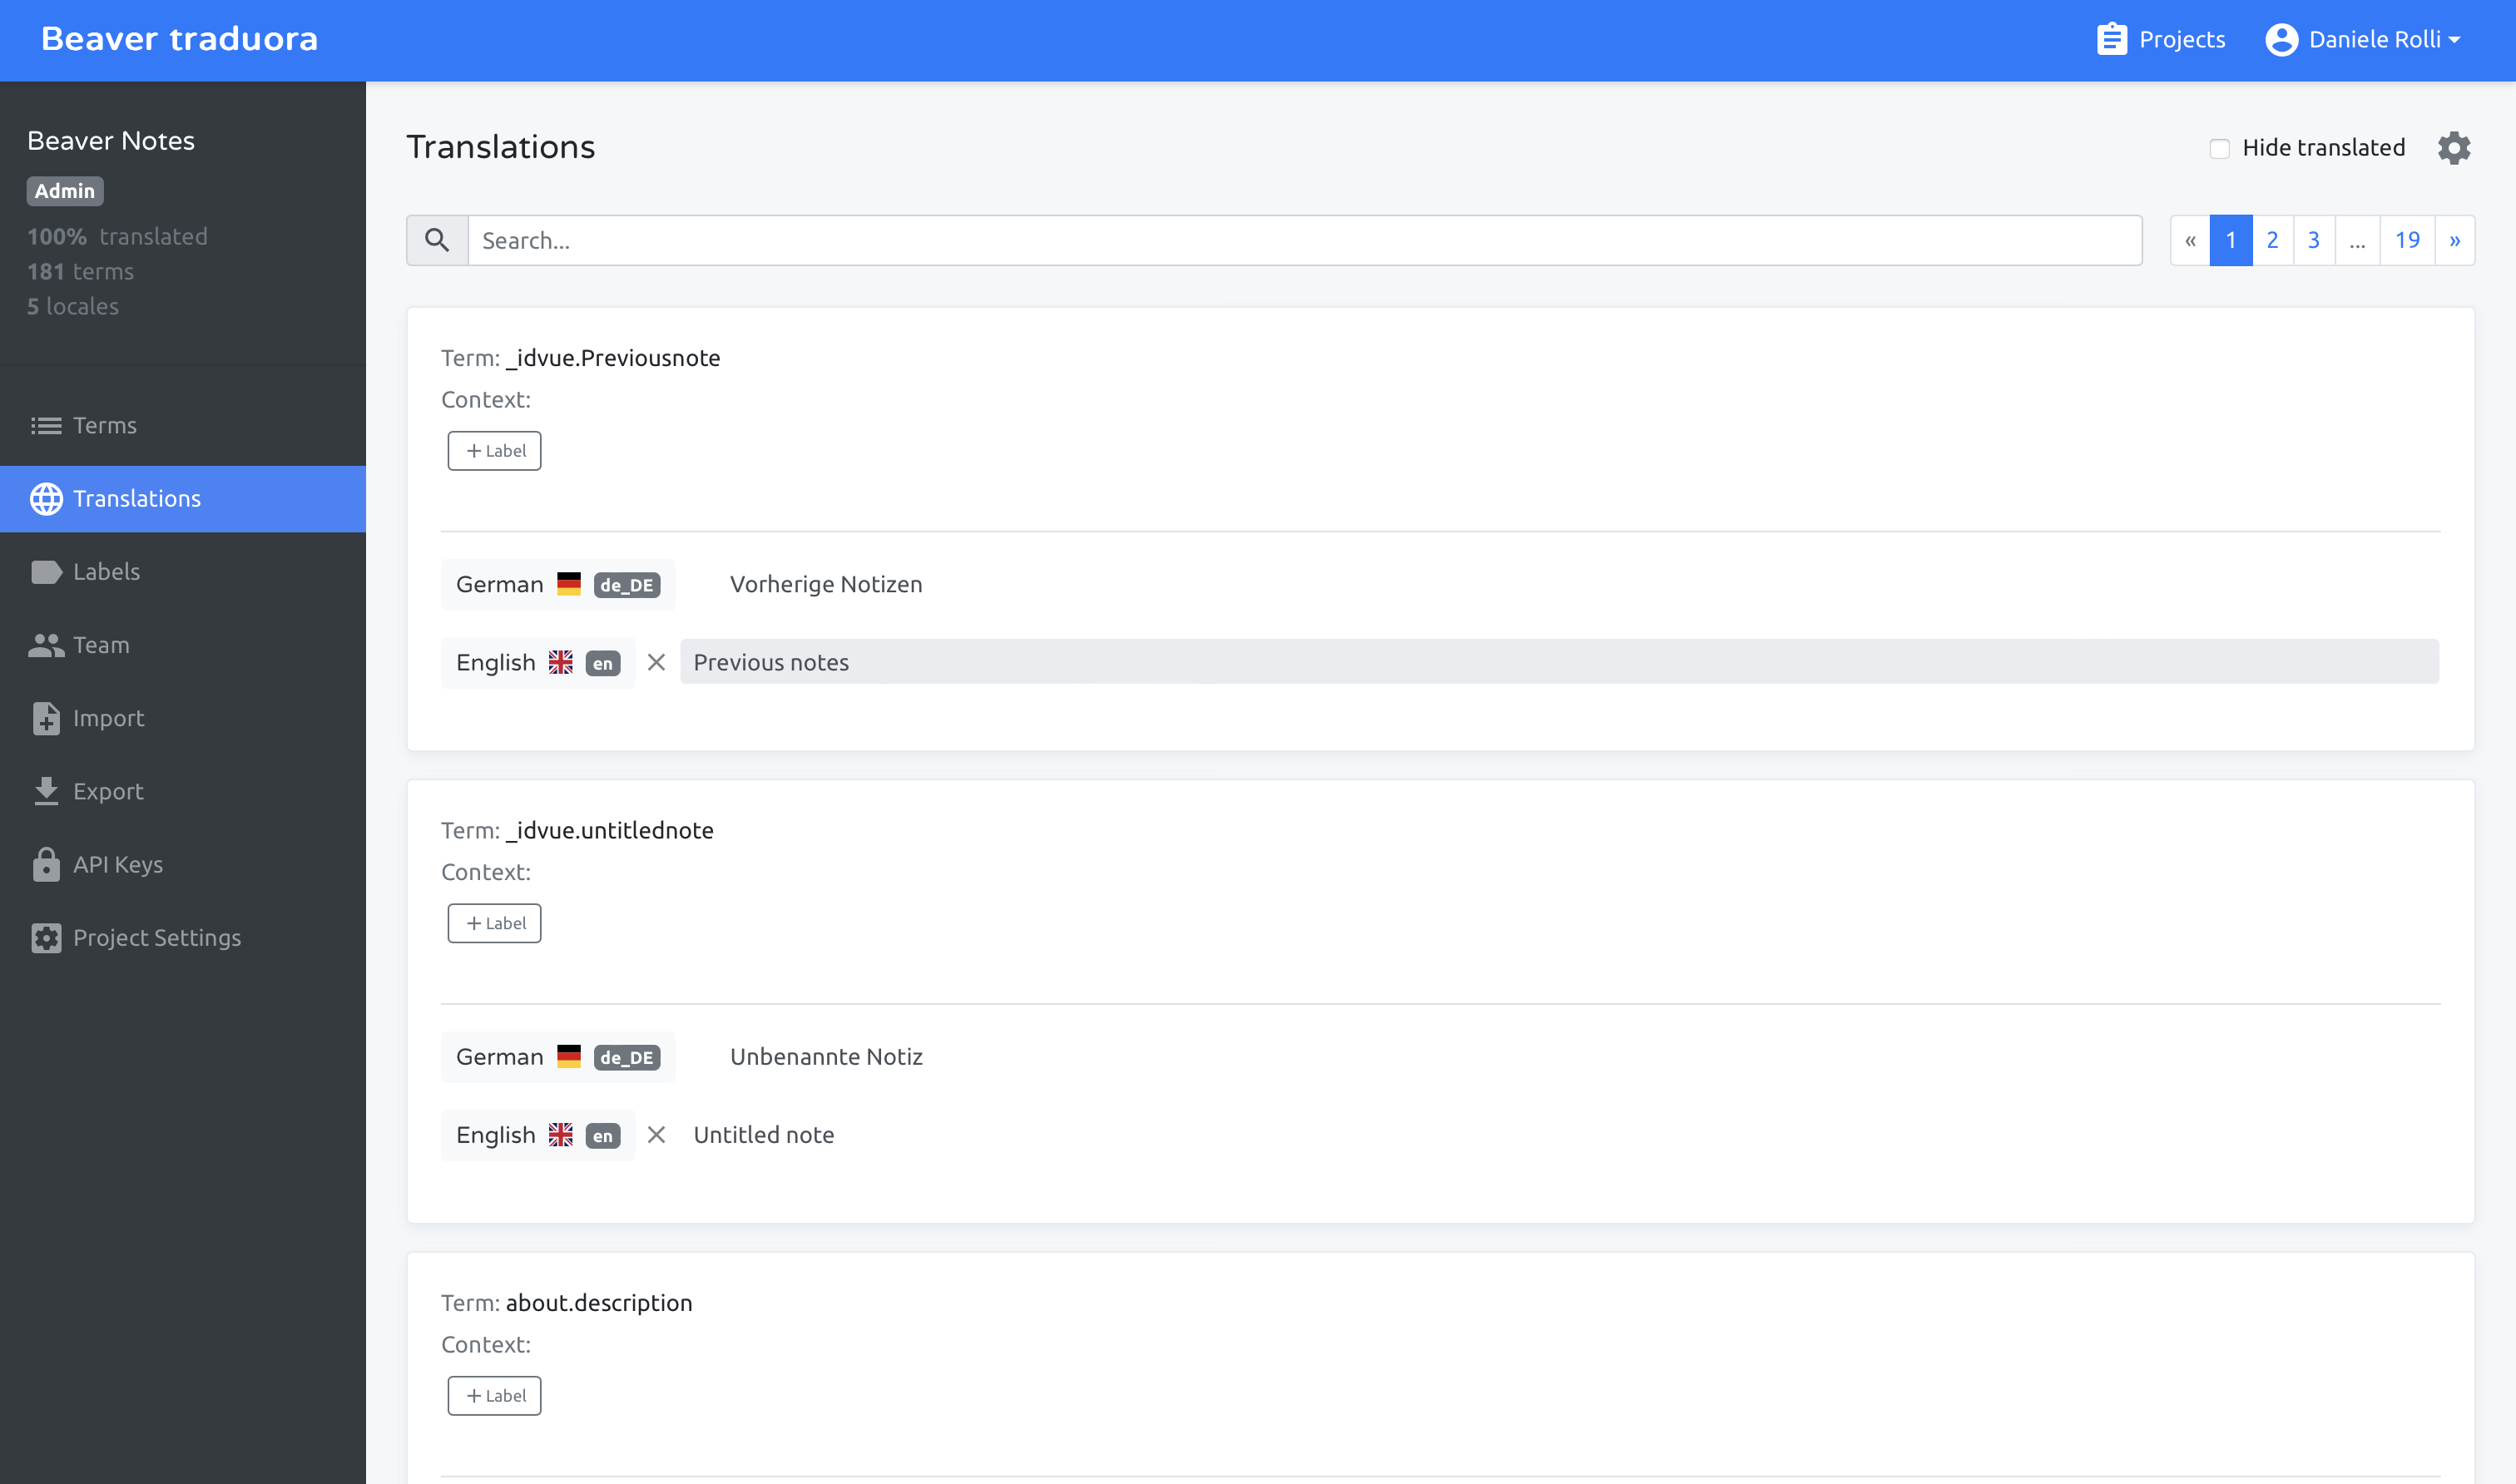
To add a new term, you'll need to click the "Add a New Term" button and then select its value from those already existing, such as "about.description" or "index.archived". Please avoid creating new values unless they are related to a new function or page.
Remember to email us or open a GitHub issue to let us know, so that we can implement the changes into Beaver.
Add a new locale
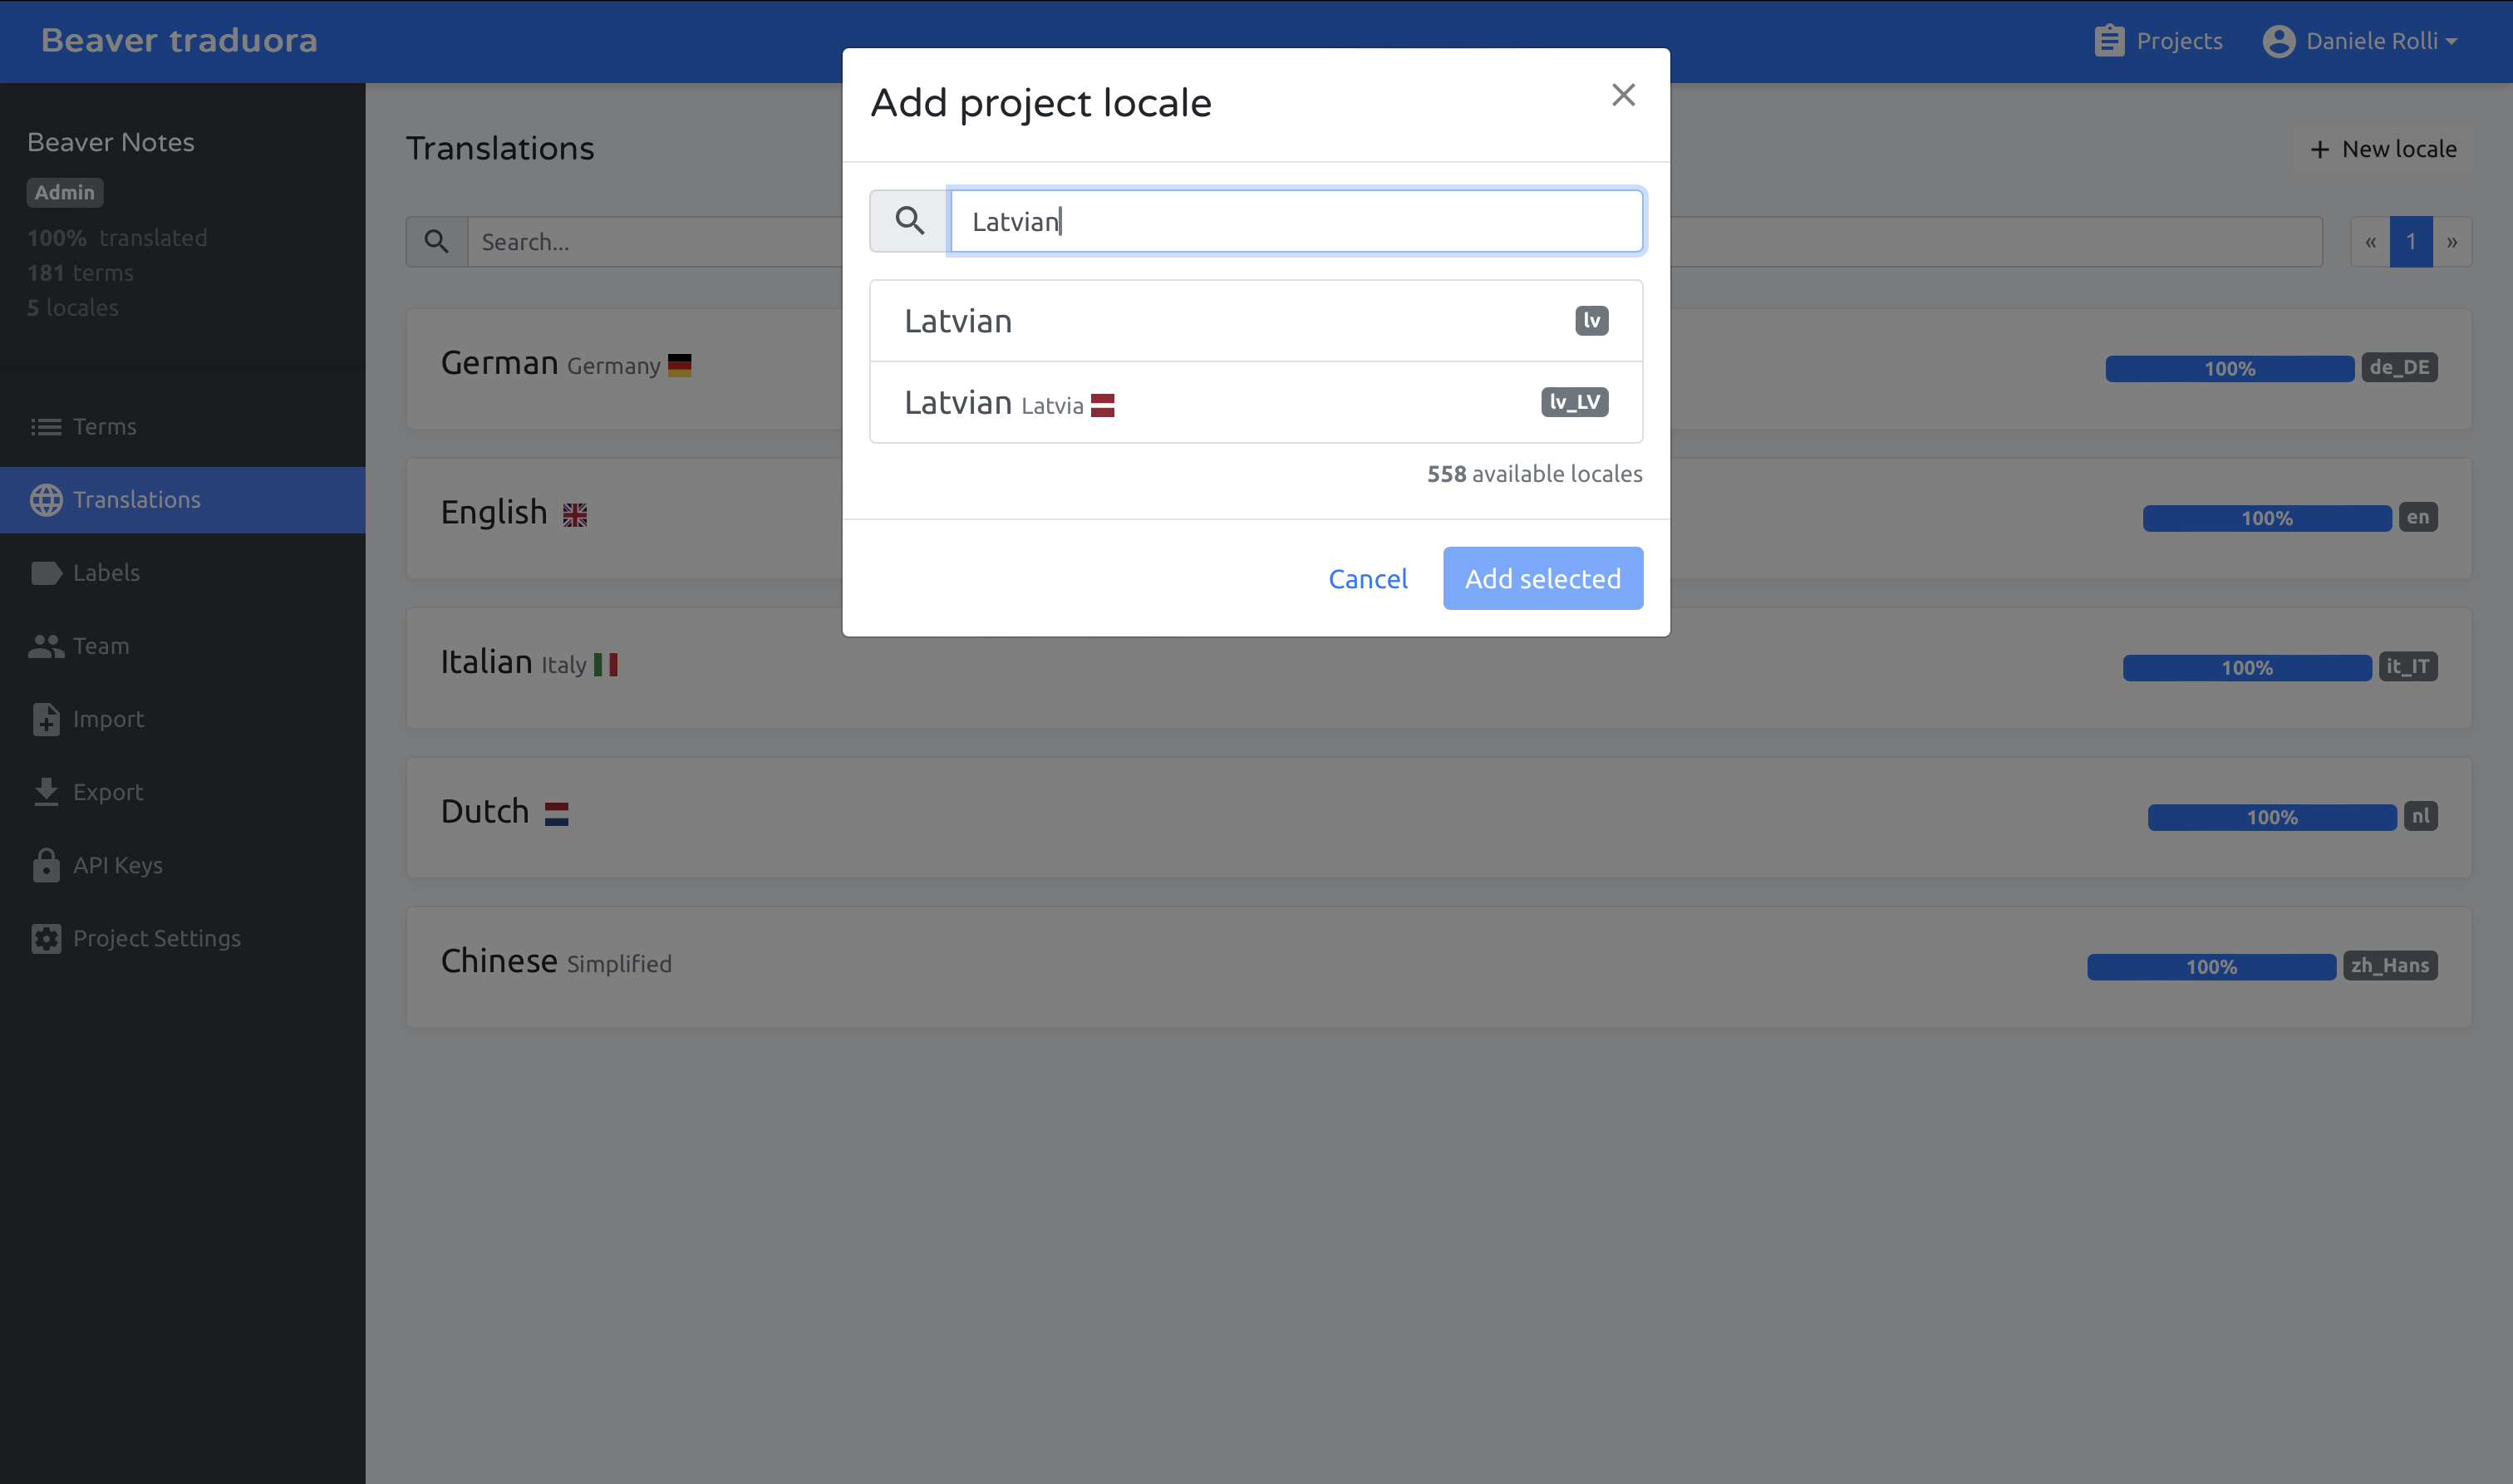
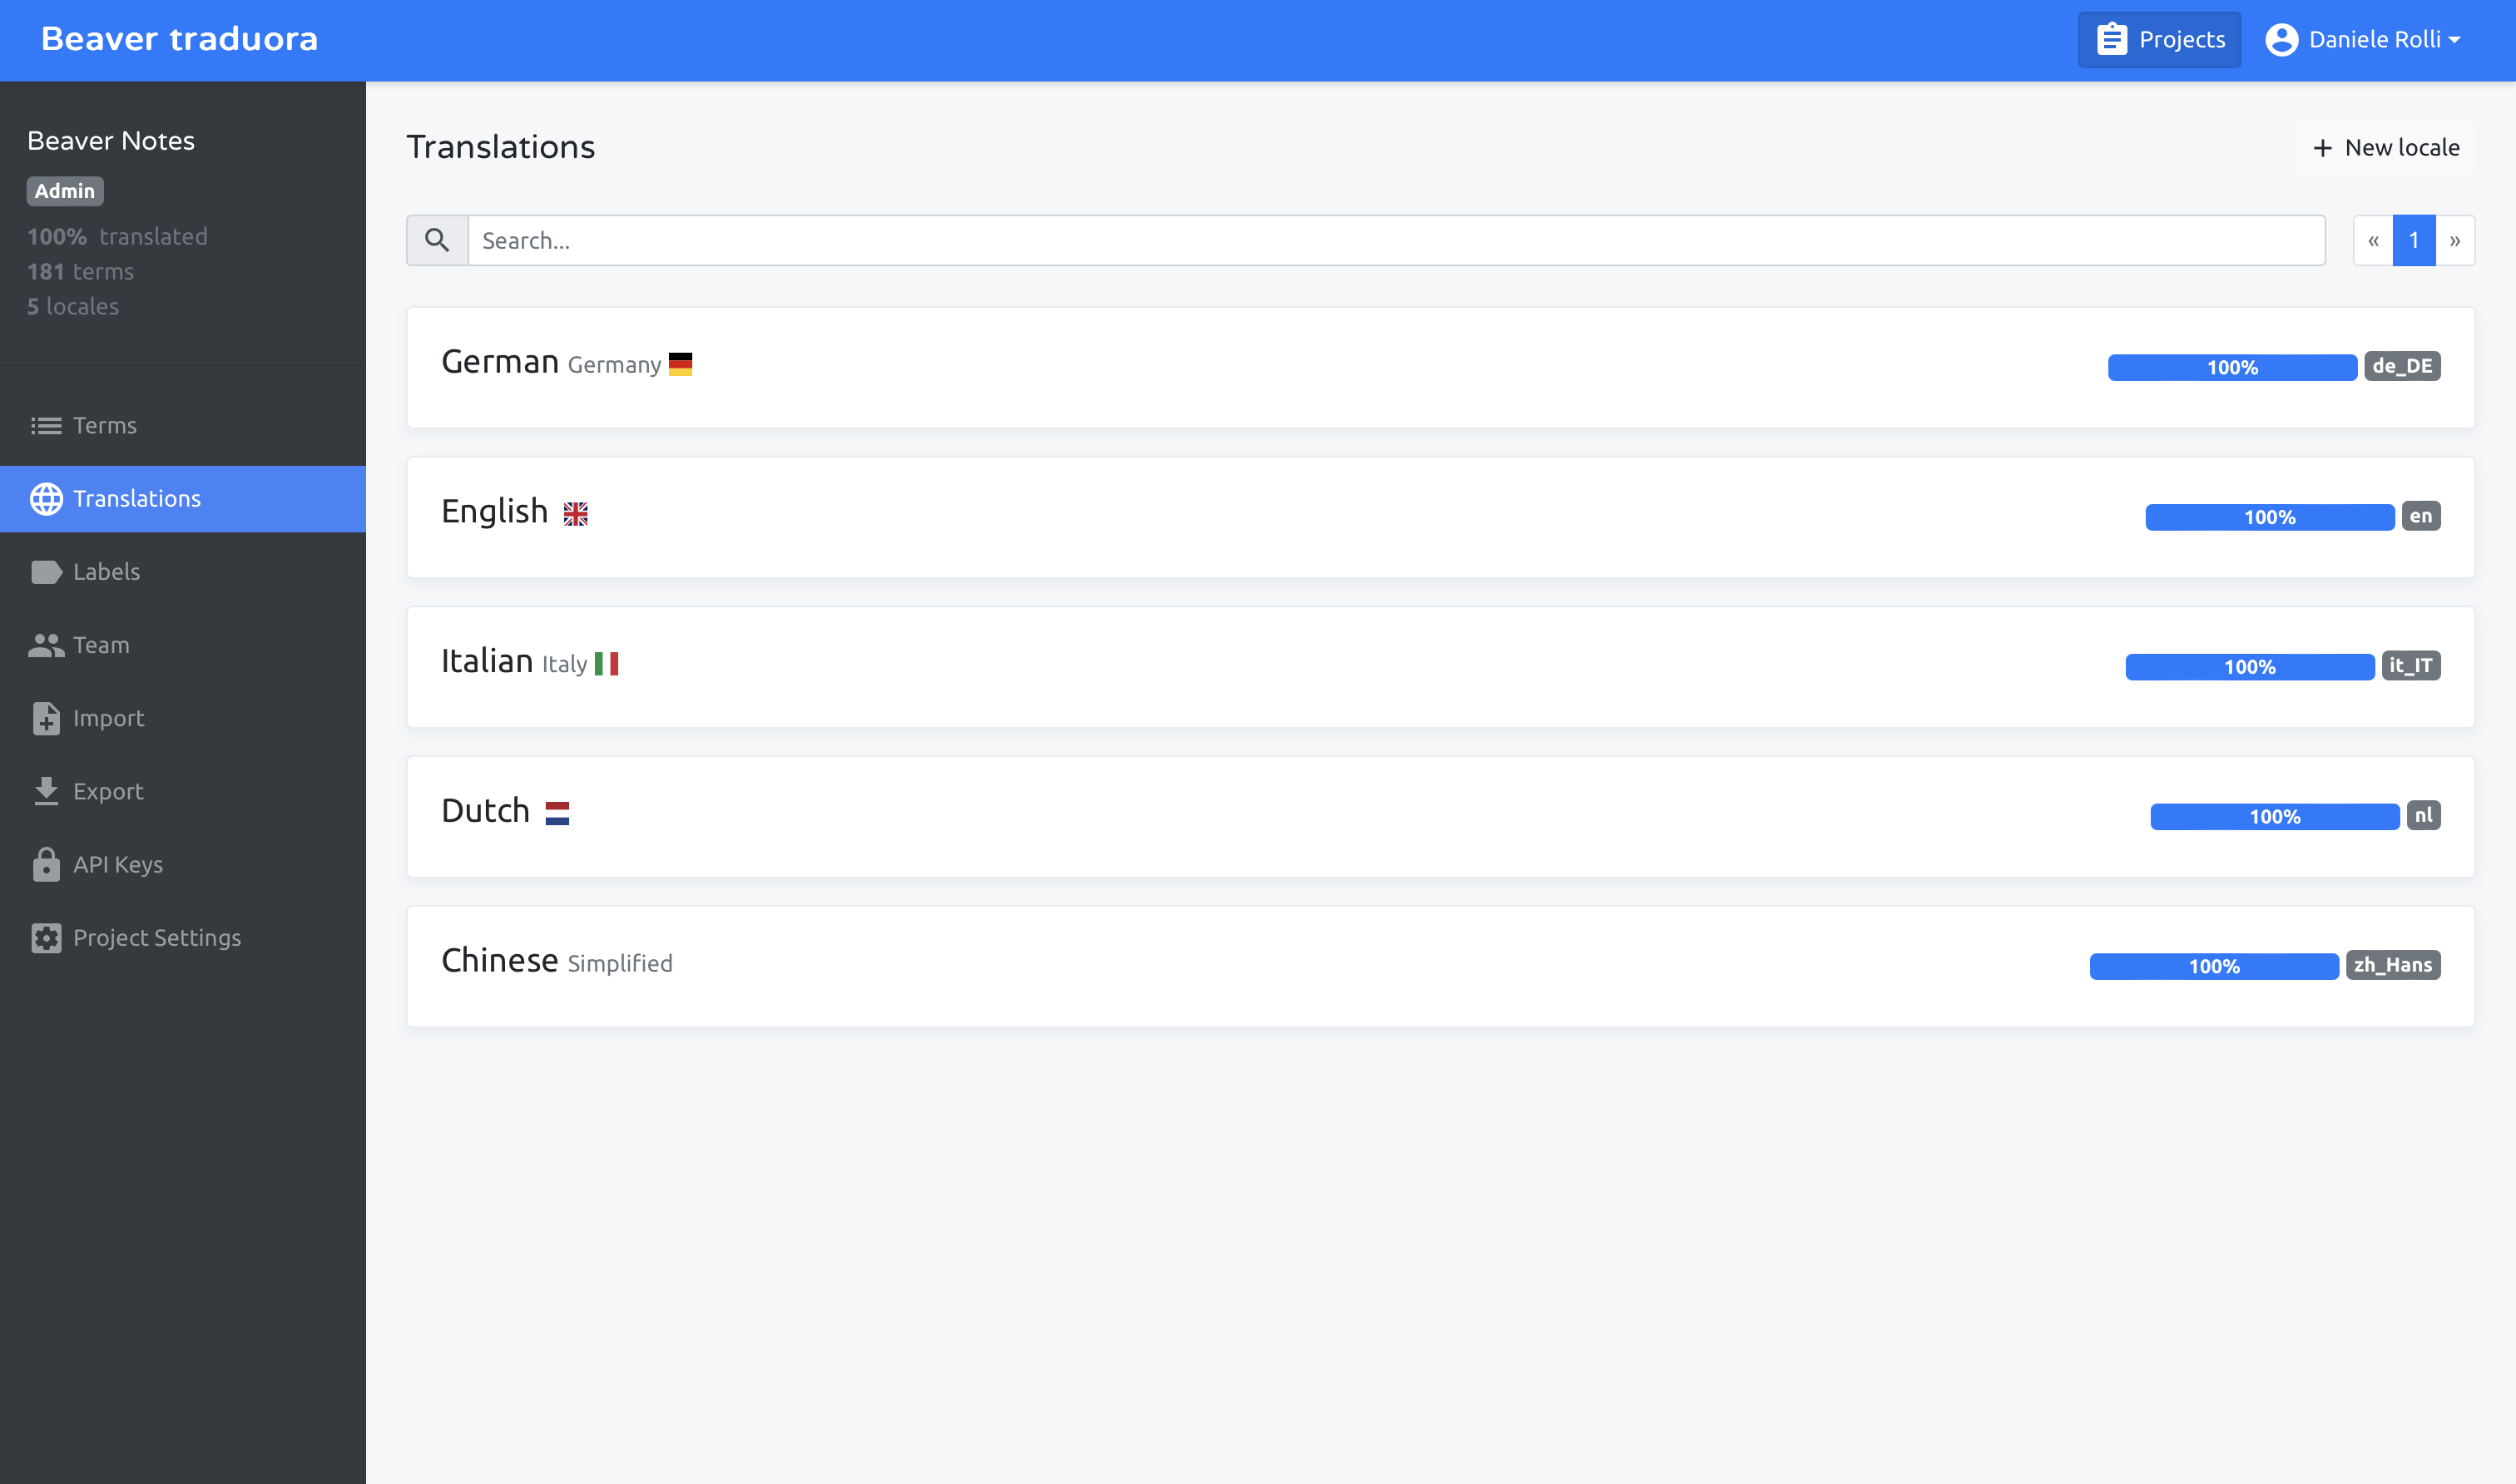
To add a new locale, head to Translations and then click "New Locale" in the top right corner. You'll be prompted to select from a list of more than 558 languages. From there, you'll just need to select a reference locale and start typing.
Export and Import
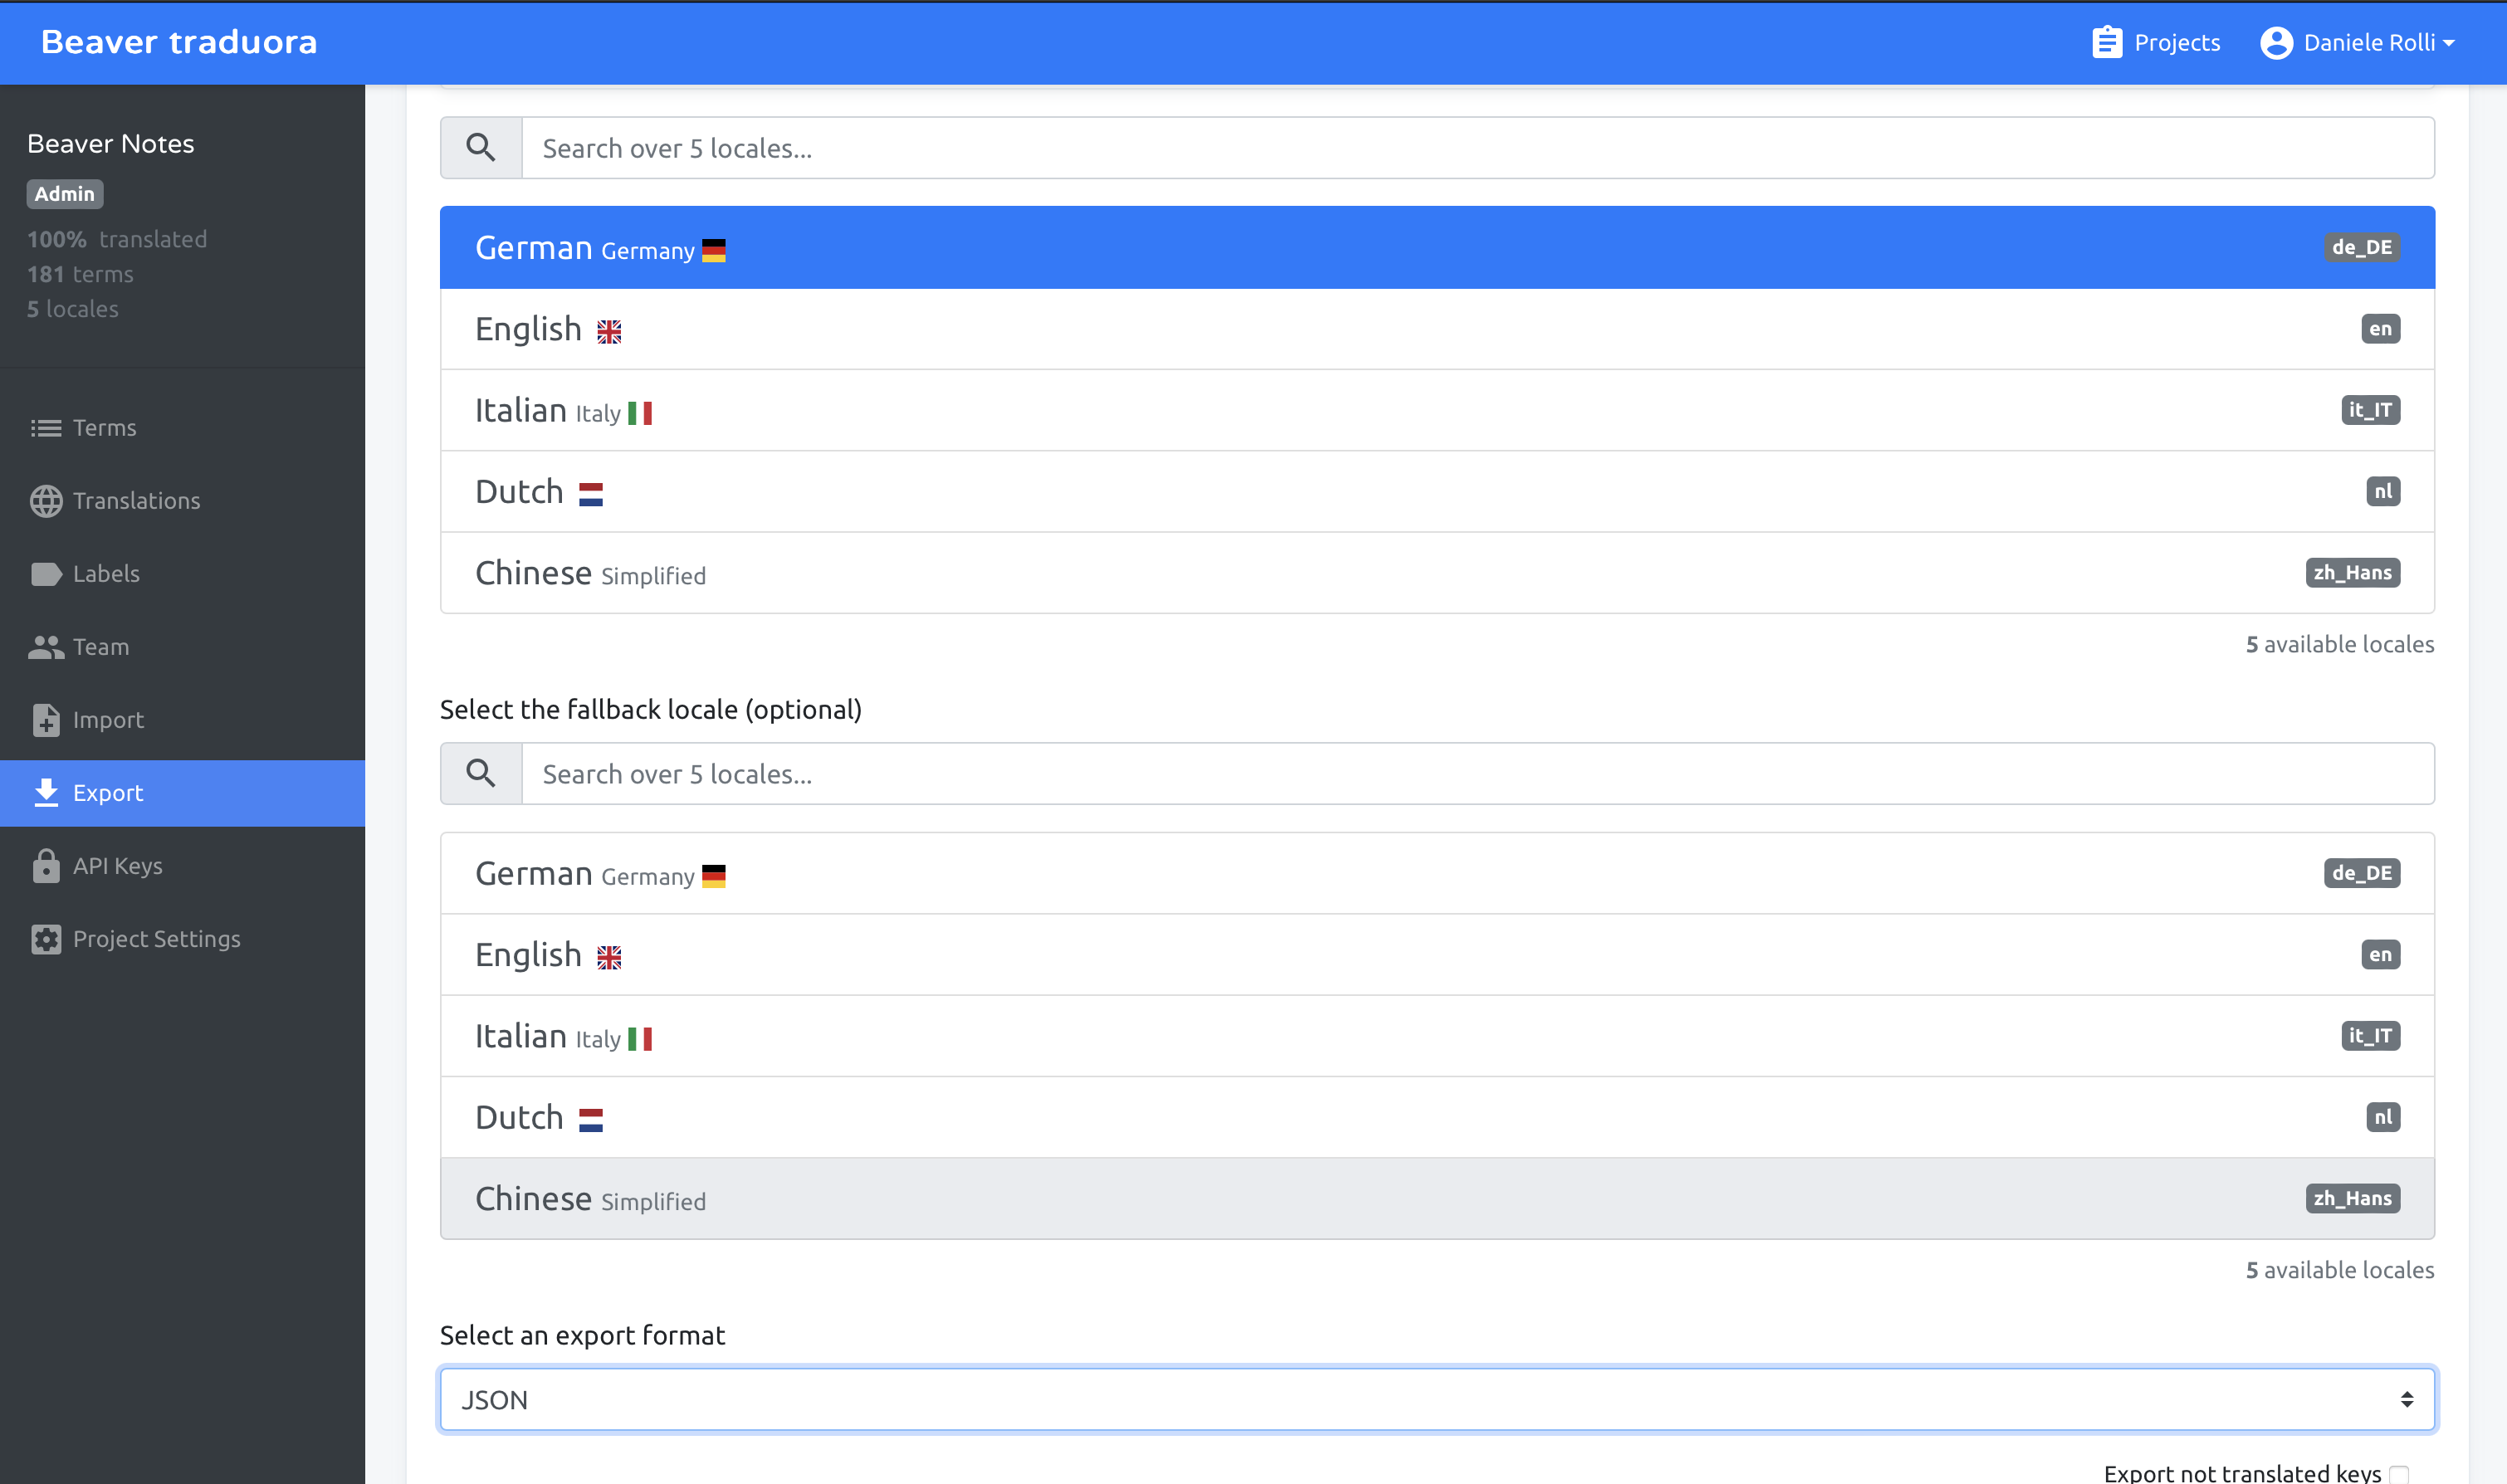
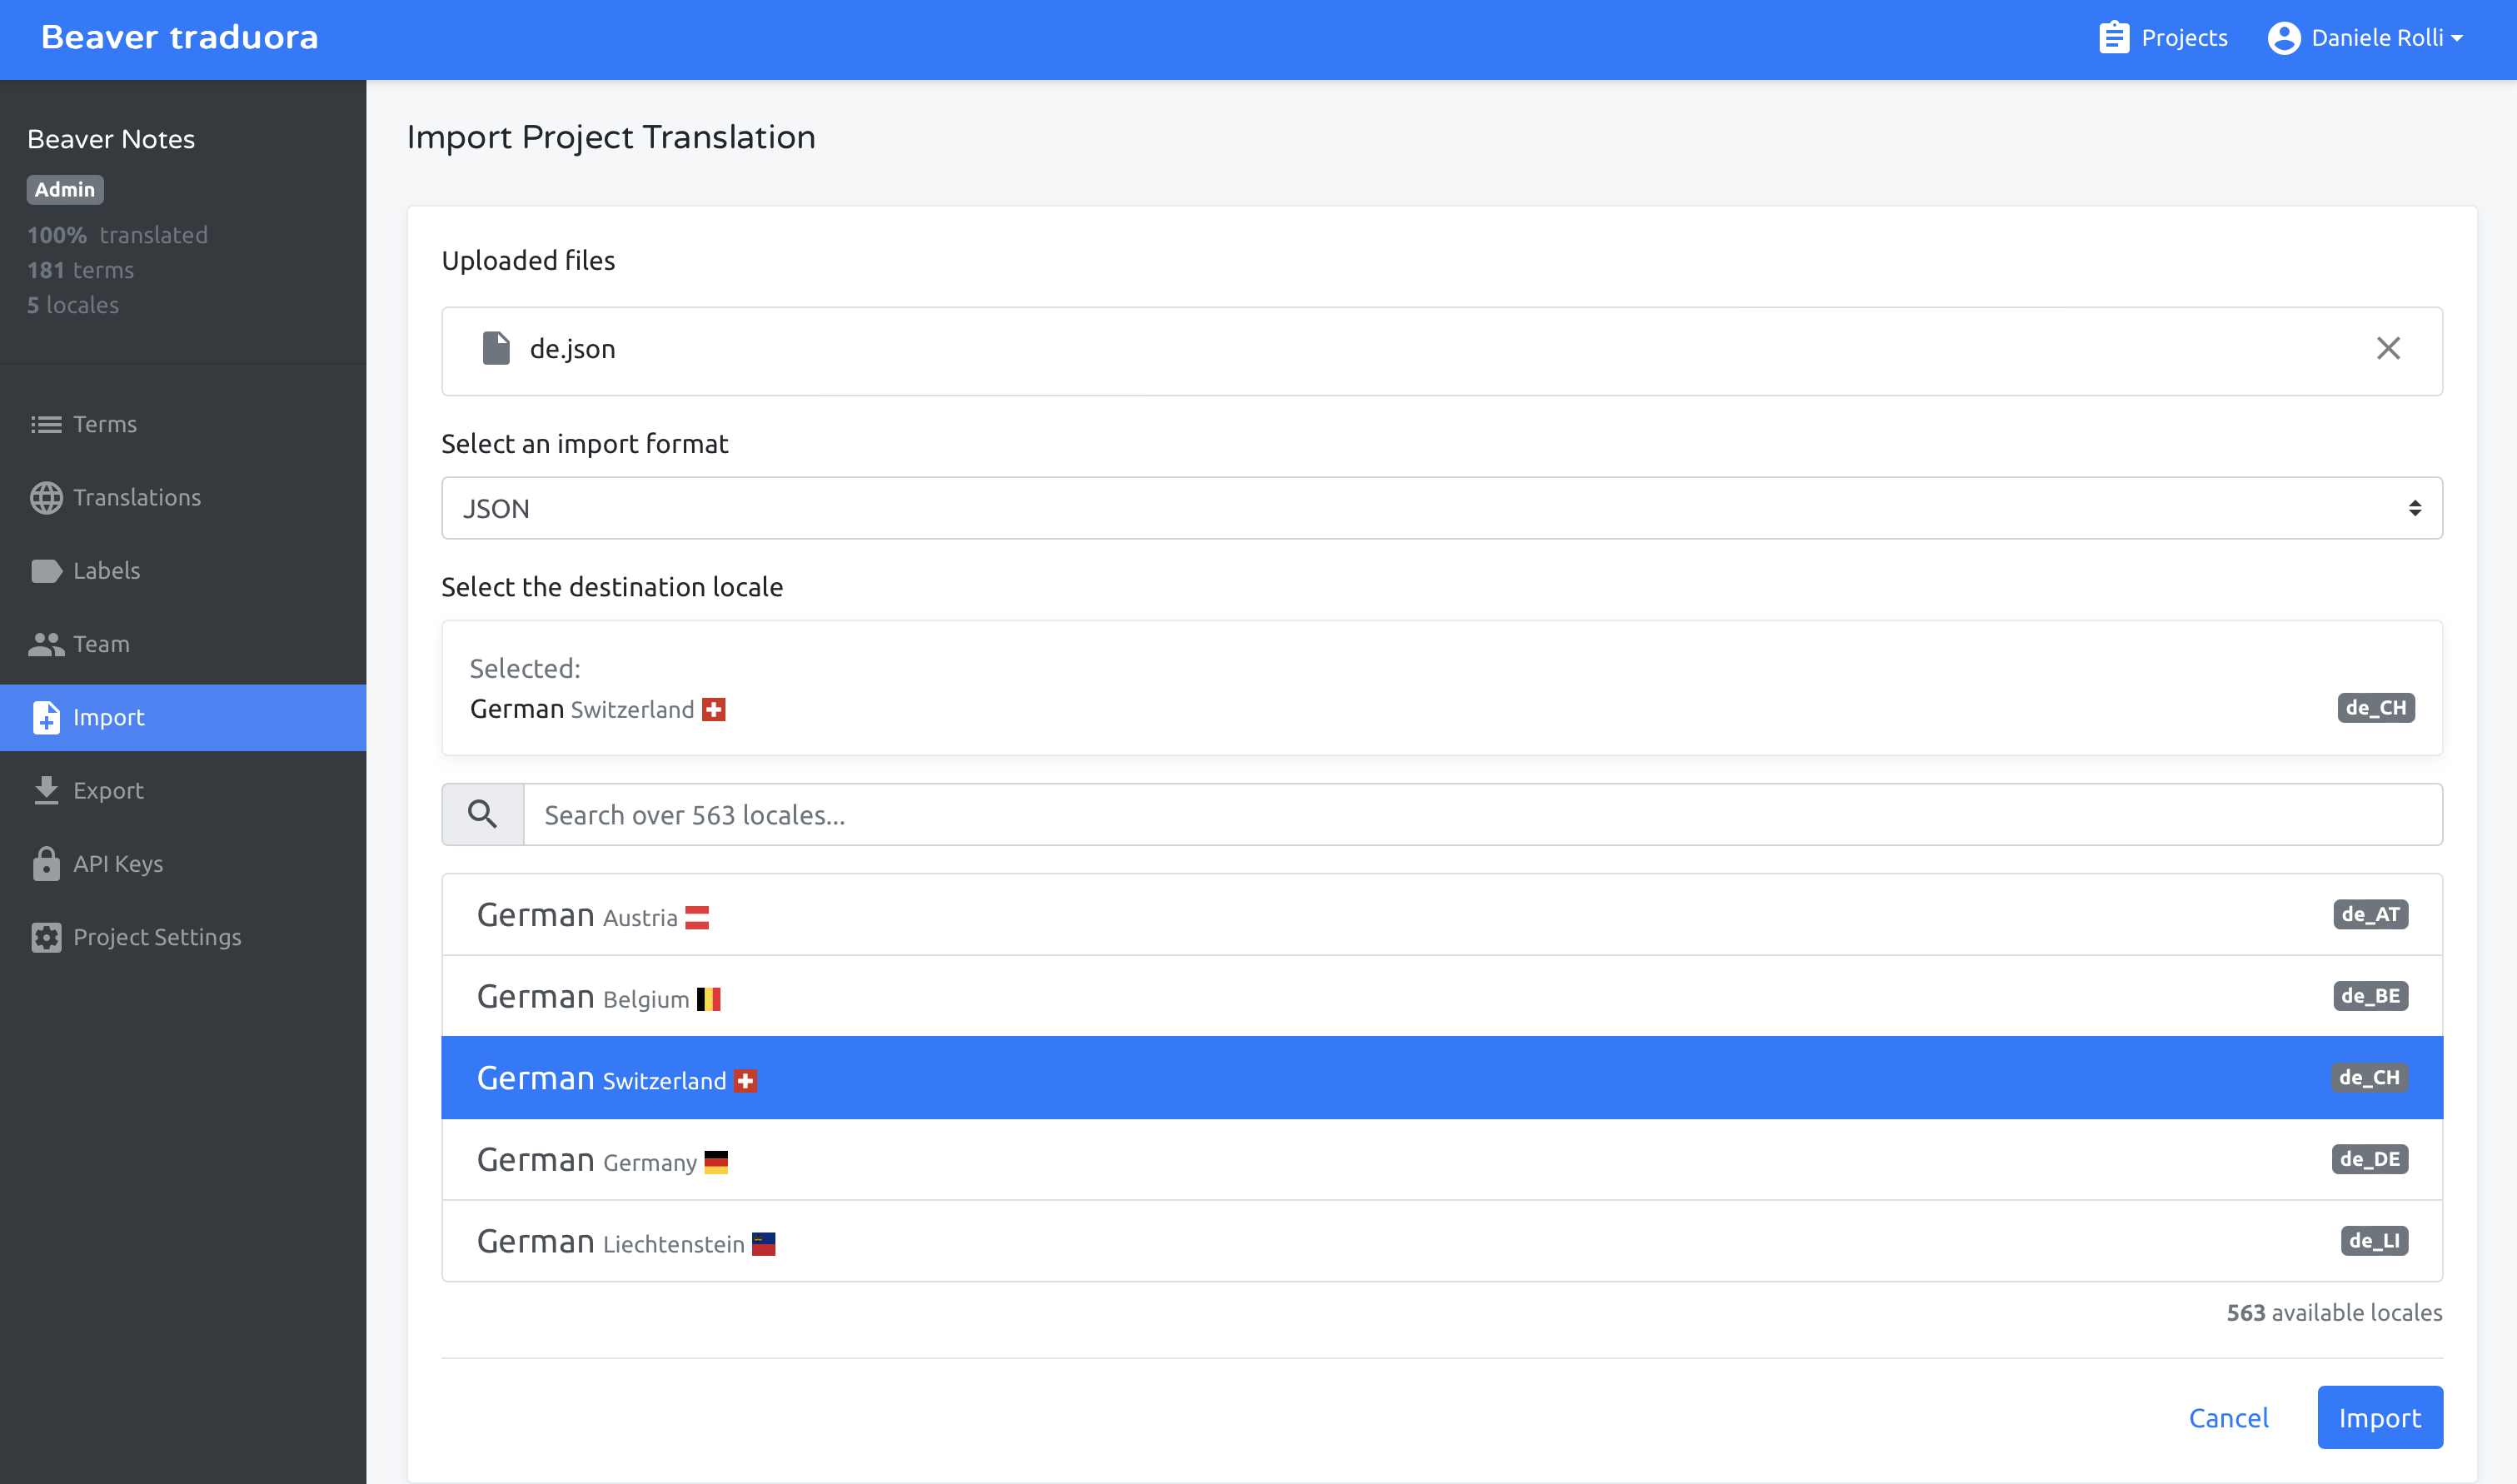
To import a locale, simply select the file from your system, choose JSON as the format, and then select the locale you're importing.
To export, select the desired locale and then choose JSON as the format. If you prefer to implement your translation into the app manually rather than contacting us, follow the to place the file and make the necessary modifications.
Please note that the command-translation feature has been deprecated in Beaver Notes 3.0.0.
Export and Import
To import a locale, simply select the file from your system, choose JSON as the format, and then select the locale you're importing. To export, select the desired locale and then choose JSON as the format. If you prefer to implement your translation into the app manually rather than contacting us, follow the Localization (Legacy) guide to place the file and make the necessary modifications.
Please note that the command-translation feature has been deprecated in Beaver Notes 3.0.0.
